
How to Create a Personality Quiz to Attract New Clients + Customers
When I decided to create my first online course, I knew I wanted to have an awesome lead magnet that would me help build my email list and attract the people who would truly benefit from my program.
I knew I could go the route of creating a special worksheet or cheat sheet for them that was related to my course. Or give away a very small snippet what’s actually inside my course to get them interested…
All these ideas were doable and I certainly could easily implement them (especially seeing as I’m a designer!).
But I wanted to do something different.
Something that would grab their attention. Something that was FUN and aligned with my personality and brand.
*Note: I am an affiliate for Interact because they’re awesome and creating quizzes with their program is so easy and fun! I only promote businesses that I use myself and believe in… and this is certainly one of them!
Enter, a personality quiz!
Two of my #businessbesties (Kayla Hollatz and Melanie Lea) have created quizzes and seen awesome results, so I knew it was an effective funnel strategy. Everyone loves to learn about themselves (hence why Buzzfeed quizzes are so popular… don’t tell me you haven’t taken one, I know you have! :) ).
More than anything, creating a personality quiz would be a great way to provide personalized content to people in their quiz results which, in turn, will help built trust and excitement around the quiz topic. And that’s what sold me.
I decided to use Interact* to host my quiz by referral and I quickly found that they are THE go-to for this! I’m super excited to be partnering with them today to share with you the exact steps I took to create my quiz and put it out into the world. My hope is it gives you a feel for what the process is like and encourages you to explore creating a personality quiz for your business!
PRO TIP:
If you’re short on time or just need a place to start, they even have a new AI feature that will make a quiz for you in a few minutes! Check out that feature here.
Step 1. Brainstorm + solidify your quiz topic
Do a big brain dump of all your ideas for topics. Remember, the topic should be easy to understand and engaging right off the bat, but also, of course, it needs to relate to your brand or offering in some way. There’s gotta be a connection, otherwise your audience will think, “Wait, what does this have to do with anything?”
For me, I wanted to offer a fun way for my audience to think about the quality and professionalism of their current design work. Since my online course is all about developing a better design eye and becoming more confident in their visual marketing, I wanted the results to be very actionable — offering them personalized tips on improving their designs today and then inviting them to learn more about my course.
So, I settled on my quiz title: “What’s your Design Spirit?” and decided to pinpoint 5 distinct design personalities for the results. By taking the quiz, my audience would find out which one resonated with them the most and then they’d receive specific tips on enhancing their specific design style and improving the professionalism of their designs in general.
Step 2. Create your quiz
Okay, so how do you go about actually constructing your quiz? Once you solidify your topic, I suggest creating your quiz in the following way:
First, come up with your personality results. I’d say that somewhere between 3-5 is good. I went with 5!
Then come up with your quiz questions. Again, keep it simple and fun, and don’t ask too many questions (I’d shoot for 5-7). You want to keep the quiz takers’ attention and if you over-complicate it, you could lose ‘em!
Lastly, come up with an answer for each question that would point to a specific result.
REMINDER: If you need a place to start, check out Interact’s AI feature that will make a quiz for you in a few minutes!
Word to the wise: Be sure to write all of this out in a Google Doc or other word processor and finalize every word BEFORE you load your quiz into Interact! I went back and forth a bit and I think I could’ve been more efficient!

Step 3. Create your Interact Account
Once you have your quiz created, you can start digging into Interact! You can get started for free HERE.* Click the orange button at the top of the page, then you’ll be rockin’ and rollin’!

Step 4: Make your quiz selections
Click “Create new quiz”.
Then “Create Quiz from Scratch.”
Two notes on this:
You can certainly use one of their templates instead of creating from scratch, if that appeals to you and you find a template that directly relates to you! For me, I wanted to do something completely original and I didn’t want to start second guessing how I already had my quiz structured… so I chose to create from scratch!
Interact also has options to create an Assessment and Score/Tallied type quiz. I decided to go with the Personality option, since I wanted to really keep the process of actually taking the quiz a fun, lighthearted experience (as opposed to feeling like they were being graded). Then the information and value would come later when I followed up via email! HOWEVER, there are so many great Assessment and Score type quizzes out there and they could be a great fit for you! This is even more of a reason to decide what your goals are for the quiz before you start developing it.

Step 5: Add in your quiz title, a short description and your quiz cover photo
Choose a photo that’s on-brand for your business and relates to your quiz topic! then add a clear quiz title and short description that entices people to take it.
Step 6: Add your quiz results/personality types
Go over to the sidebar and click on “Result 1”. The page that pops up will show you what your quiz takers see after finishing the quiz and seeing their result.
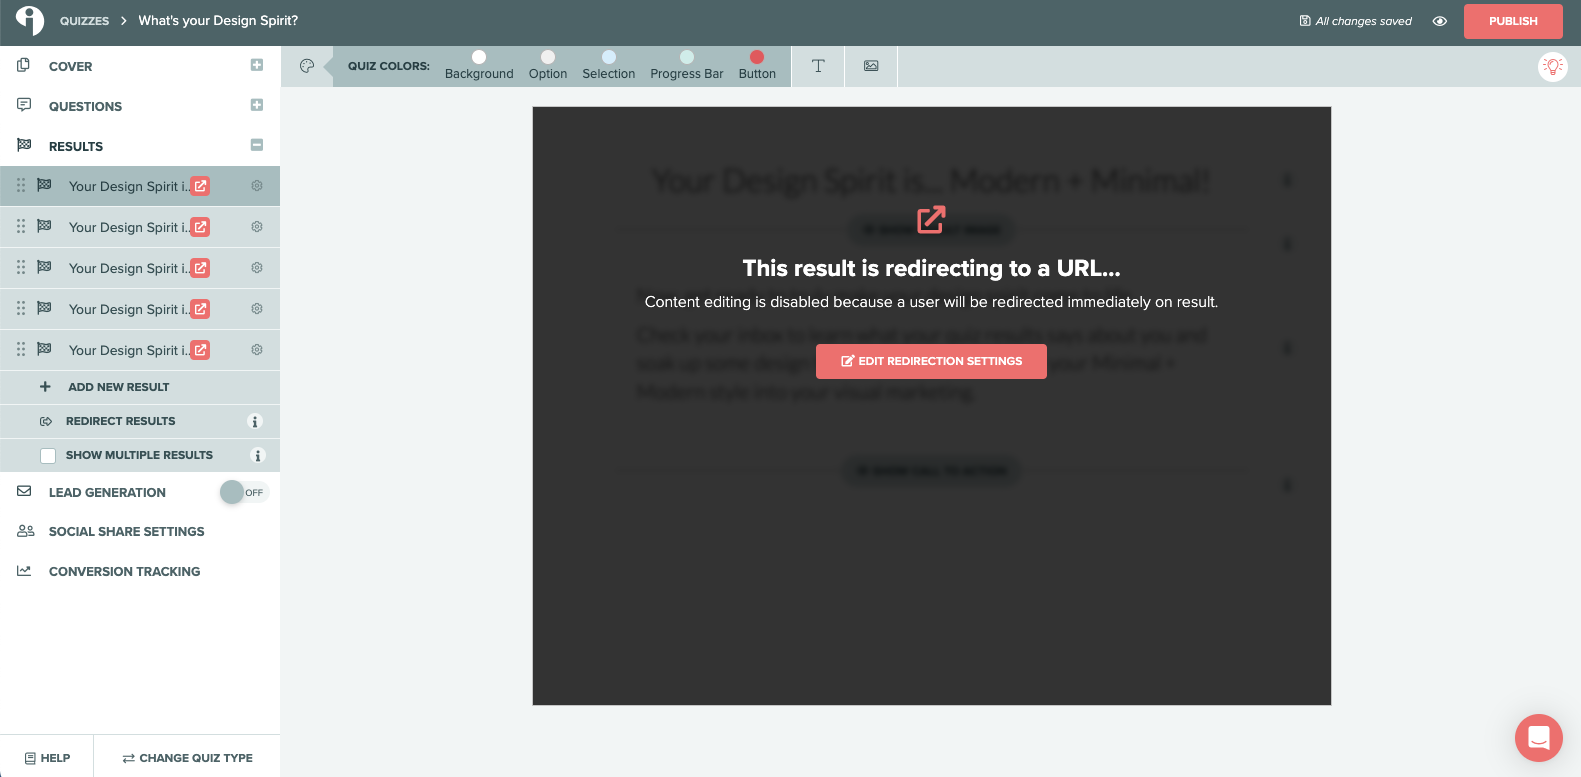
Be sure to enter your result title at the top. But from there, you have some options. You can upload a “result image” and a “call to action”, if you want to give your quiz takers the information right there. Or you can choose to hide these fields.
Personally, I wanted to send all the information to my quiz takers via email and therefore didn’t want to give too much away here on this pop-up page. So, I decided to just include the result title (aka the design personality type!) at the top and a short description, telling people to head to their inbox for more information. I then simply hid the “result image” and the “call to action”:
Whatever you personally decide to do, you’ll repeat the same process for all your quiz results/personality types.

Step 7: Add your quiz questions.
Now, go back to your sidebar and scroll down to “Questions”. Click “Question 1” and enter your question and answers. If it’s a good fit for your quiz, you can also click “Answer Type: Images” if you want to have images for your answers (as opposed to text only). I did this for two of my quiz questions and I think it works really well!
Then, repeat this process for each one of your questions. You can choose to do images for some questions and text for others — whatever makes sense to you!

Step 8: Add result correlations
After all your questions and answers are loaded into Interact, you’ll match up what quiz result/personality type is associated with each answer.
To do this, click on “Question 1”, then “Edit Result Correlations” in the top right corner. Click the first answer on the left and click it’s associated result on the right. Then continue down the list and repeat for each of the answers. Be sure to click to save your work, then repeat the process for all other quiz questions!

Step 9: Customize the styling of your quiz
Yay! You’re done loading your quiz into Interact! Now let’s add some customized styling to your quiz, to make sure it’s in line with the rest of your brand styling on your website.
On the top sidebar, click “Styles” and customize your colors and font. You can also upload your logo here (hint: the logo needs to be exactly their dimensions: 250px x 150px.
If you didn’t already do so, you can add your quiz cover (dimensions: 900px x 400px).
Click “save” and you’re good to go!
Step 10: Connect your email marketing service
Now let’s go back to your quiz and connect your email platform. That’s the whole point, after all, to make sure you gather your quiz takers’ email address.
To do this, go to the top of the sidebar and click the “Lead Generation” toggle. Then customize your opt-in box as you’d like. Then click “Next” and select your email provider. Follow the prompts provided to finish connecting your specific email provider.
Once you’ve connected your email marketing service within Interact, you’ll need to go into your email service and set up the email sequence for each result.
You can make this as simple or complex as you’d like. I started with ONE email for each result/personality type that it sent to quiz taker upon completing the quiz. Eventually, I will have quiz takers all receive a longer email sequence that leads to my course… but for now, this gets me started and providing great value, even in that first email!
After your sequences are set up, go back to your Interact dashboard and connect the results to their corresponding sequences.

Step 11: Publish + embed your quiz
Now, click the top button that says “Save and Exit”, which will bring you back to your dashboard. Then click “Share and Embed".
On the pop up page, make your desired selections for how the quiz will embed. Then click “copy to clipboard” button.

Step 12: Embed your quiz into your site
This will be done differently depending on your platform. I host my site on Squarespace and there, it’s as simple as making a new page for your quiz, adding a code block to the page, and pasting the code you just copied from Interact into the site. You’ll see the page pop up right away and you’ll be good to go.
Above is a screenshot of a section of my homepage — I call out my quiz here and the red button leads to my actual quiz page where the code from Interact is embedded. This allows me to have a unique URL for my quiz, yet still call attention to it when people arrive on my site.
Step 13: Now… start marketing the quiz!
Just like anything else in business, people don’t know your quiz is available unless you tell them. So start spreading the word and inviting people to take it!
SOUND FUN? IT IS!
If a quiz sounds like a fun way to market your services and/or products and grow your email list, I encourage you to give it a try! It was a really fun process to put together and Interact makes it so easy. Check them out* and get creative
*Note: Again, I’m an affiliate for Interact because they’re awesome and creating quizzes with their program is so easy and fun! I only promote businesses that I use myself and believe in… and this is certainly one of them!
YOU MIGHT ALSO LOVE…


